Labels
Overview
Labels are a way to tag a piece of information in AndBible. Labels can be assigned to bookmarks, study pads, and personal notes.
Open Label settings
To manage and see a list of all of your labels:
- Click the vertical ‘three-dot’ menu on the top right of the main toolbar.
- Click Label settings….
Alternatively, when creating a bookmark, you can assign and manage labels by clicking on the Select or edit labels… button on the bottom of the Bookmark Labels dialog.
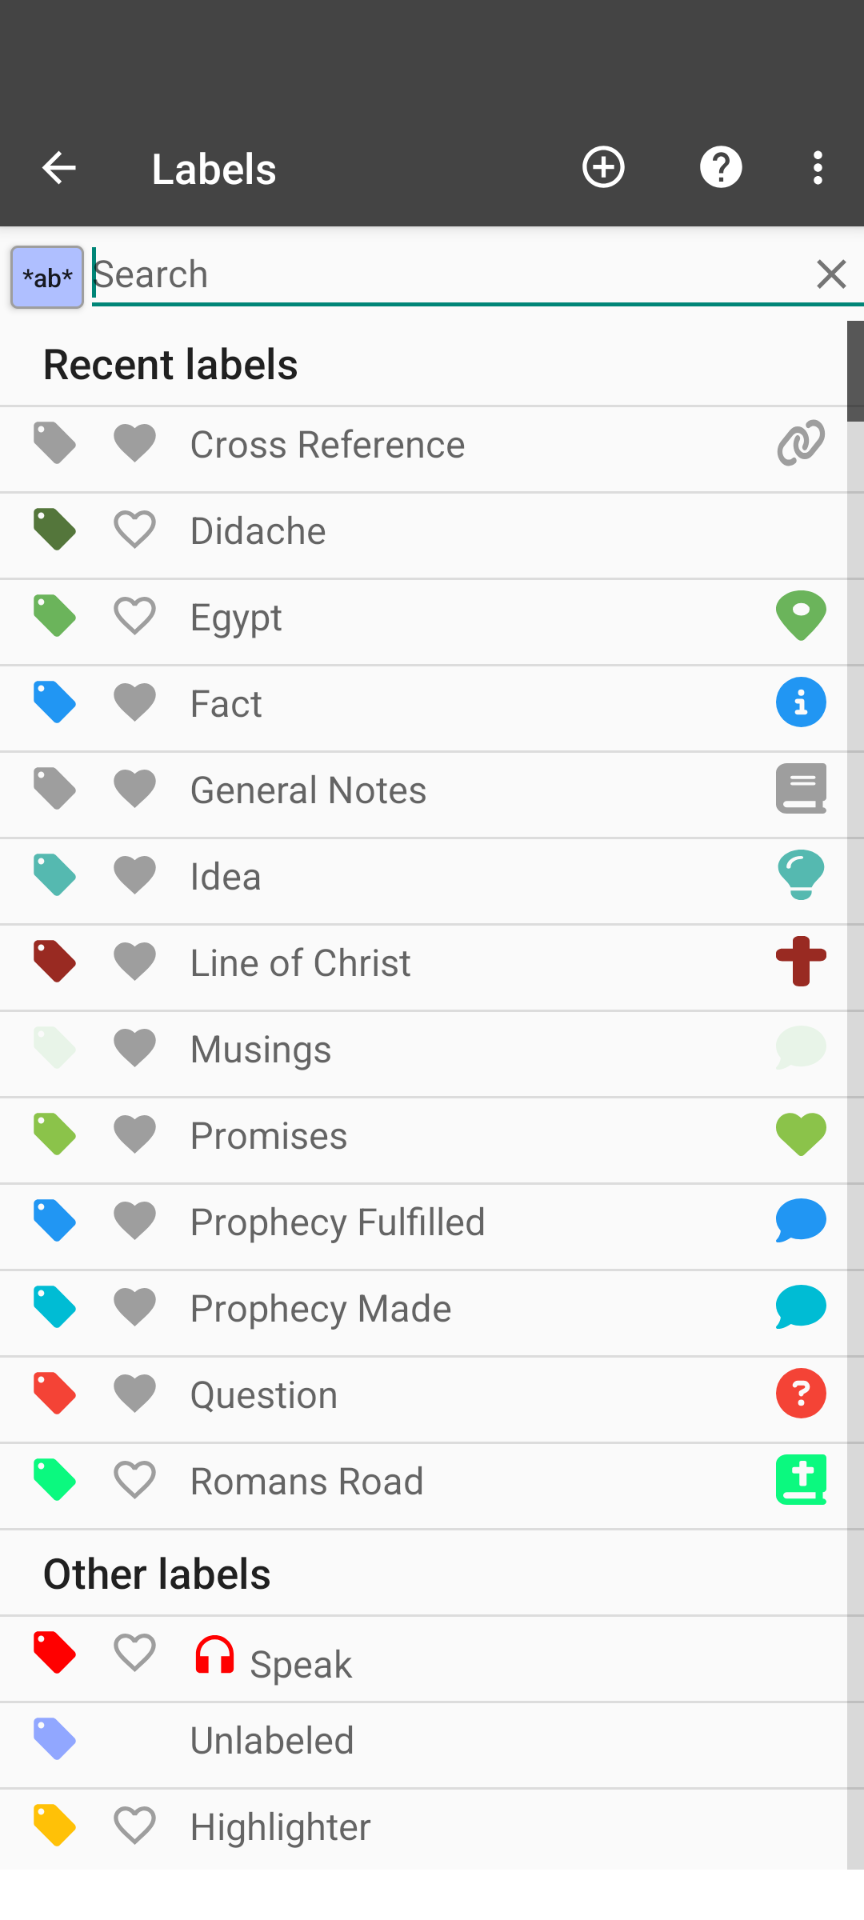
Searching for a Label
If many labels exist, it may be helpful to search for specific labels:
- Open Label settings
- Begin typing the name (or part of the name) of the label you want to find. (The results will automatically filter as you type)
Create a label
To create a label:
- Open Label settings
- Click the Plus (+) button at the top
- Enter a label name.
- Optionally, Change Label Settings
Delete a label
To delete a label:
- Open Label settings
- Click the label you would like to delete.
- Click the Trash icon in the top right.
- Click Yes to confirm deletion. (This will remove the label from all bookmarks, notes, and associated Study Pad.)
Change Label Settings
Various label settings exist to apply different styling to and make assigning the label easier. You can:
- Change the color of a label by clicking the label icon next to the label name.
- Favorite a label to make it easier to select when assigning bookmark labels.
- Assign a custom marker icon to a label. (The custom icon will be used as the bookmark icon if the label is the primary label on the bookmark)
- Have either an underline or background coloring style.
- Hide the label from applying any kind of styling (or visible icon) to the bookmark.
- ‘Auto-assign’ labels to new bookmarks. (This applies to the active workspace)
- Set the label as the ‘main label’ for new bookmarks. (The main label is the label that is listed first and determines the style of the bookmark)
Override Label Style per Workspace
By default, a label’s display style (highlight, underline, marker, or hidden) is the same across all workspaces. You can override the display style for a specific workspace so that the same label appears differently depending on which workspace you are in.
For example, you might want a label to show as a colored highlight in your study workspace but be hidden in your reading workspace.
To set a workspace-specific style override:
- Open Label settings
- Click the label you want to override.
- Scroll down to the This workspace section.
-
Under Override style, select the desired display mode:
- Highlight — colored background
- Underline — underline style
- Marker only — small marker icon, no highlight or underline
- Hidden — bookmark is not visible
The option that corresponds to the label’s global style is marked with (no override). Selecting it removes the workspace override.
Labels that have a workspace-specific override are indicated with a small tune icon in the label list.