Notes
Video tutorial: NotesComing soon Watch the preview video
AndBible allows you to add personal notes to any bookmark or study pad.
Creating Notes
Notes can be created in a few different ways. When creating a note, changes are saved automatically.
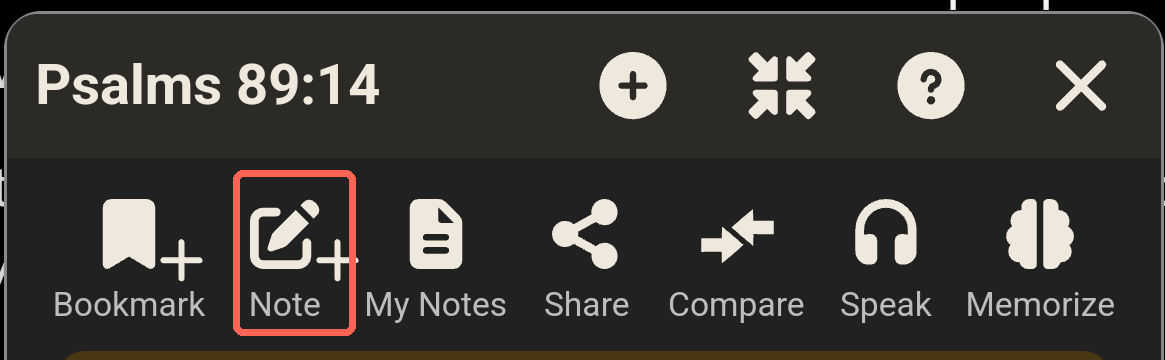
Add a note from the verse action dialog:
- Click a verse to open the verse action dialog.
-
Click the Note button. The note opens for editing in the bookmark panel of the reading view.
- This will automatically create a new bookmark with the label ‘Unlabeled’, or with the workspace’s auto-assign labels if there are any.
Add a note to an existing bookmark:
- Locate the bookmark where you would like to add a note.
- Click the bookmark to display the verse action dialog.
- Click the Note button to add a note to the bookmark.
Add a note to a new bookmark:
- Create a Bookmark.
- After selecting labels for your bookmark you will see the bookmark dialog.
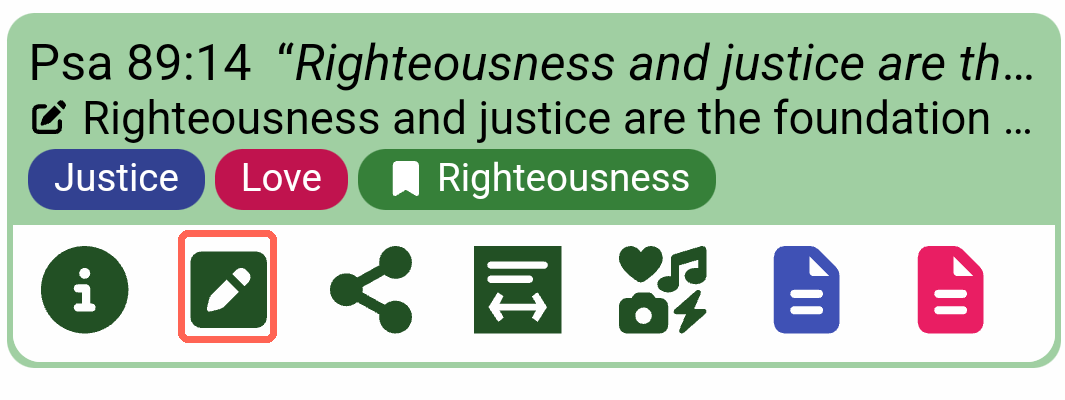
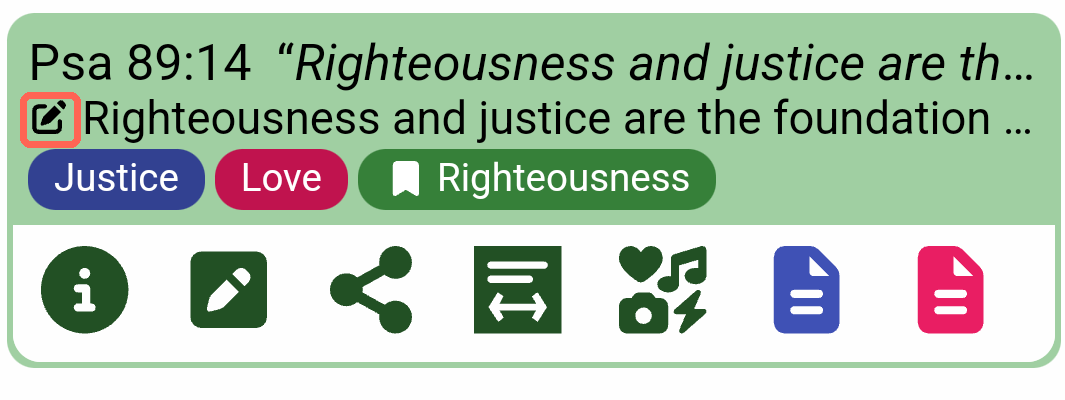
- Click the pencil icon on the bookmark card in the verse action dialog to add a note to the bookmark.
Add a note to a study pad:
Notes can be added to a study pad. These notes will not be visible in the document and will only be visible on the study pad.
- Open a study pad.
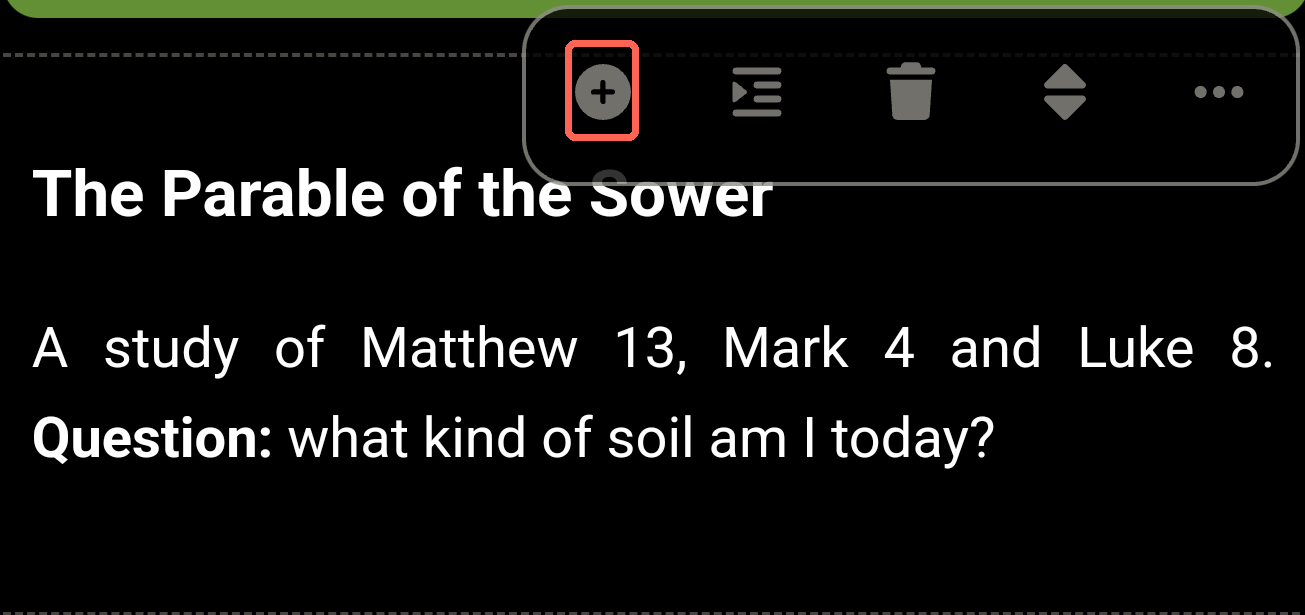
- At the bottom of the study pad (or in the toolbar of any entry) click the (+) icon to add a note.
This note will not be linked to a specific document or verse. The note can be re-located in the study pad by dragging it by its drag handle to the position where you would like to locate it.
Viewing notes
Viewing an individual note:
Once a note has been added to a bookmark, a note icon will be displayed at the end of the bookmark in the document text. To view the note, click the note icon.
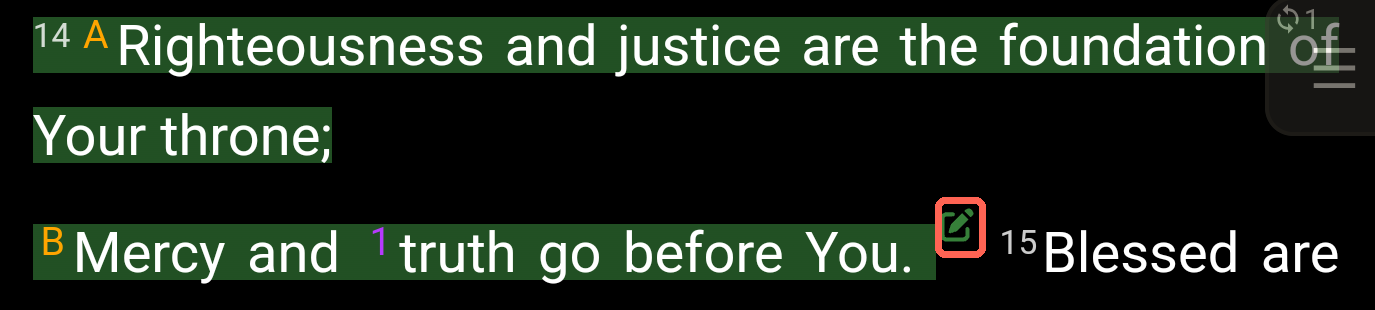
Alternatively, click the bookmark and then click the note icon in the bookmark that is displayed in the verse action dialog.
Viewing notes as a commentary:
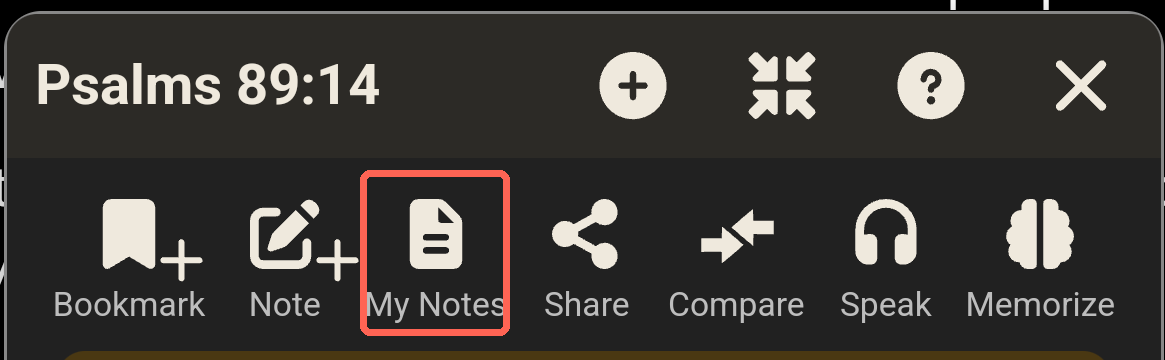
To view all notes for the active Bible chapter, open the My Notes “document”. You can reach it from the My Notes button of the verse action dialog or from the Commentary sheet:
Viewing all notes:
To view all notes, open Bookmarks from the top left main menu (☰) and switch on Show notes in the ⋮ menu. A search button then appears for searching the notes. See Bookmarks list.
Editing a note
To edit a note, simply view a note and click into the note to start editing. When editing a note, changes are saved automatically.
Notes support rich formatting. AndBible offers two editor types: an HTML editor and a Markdown editor. You can choose which editor is used for new notes in the settings.
On Android, use Select all in the text selection menu to highlight the entire note, even when part of the text is already selected. You can then copy, cut, or replace the selected text.
Choosing the Editor Format
- From the top left main menu (☰), open
Application preferences>Look & feel. - Find
Format for new bookmark notes. - Select either Rich text (HTML) or Markdown.
This setting applies to newly created notes and study pad entries. Existing notes keep the format they were created with.
HTML Editor
The HTML editor opens focused and ready for typing. Changes are saved automatically. Click Close to save and leave editing; this closes the editor, not the bookmark dialog. Close the bookmark dialog separately when you are finished.
The HTML editor provides a toolbar with standard formatting options:
- Bold, Italic, Underline
- Ordered and unordered lists
- Indentation (increase / decrease)
- Bible reference link insertion
To add a Bible reference link:
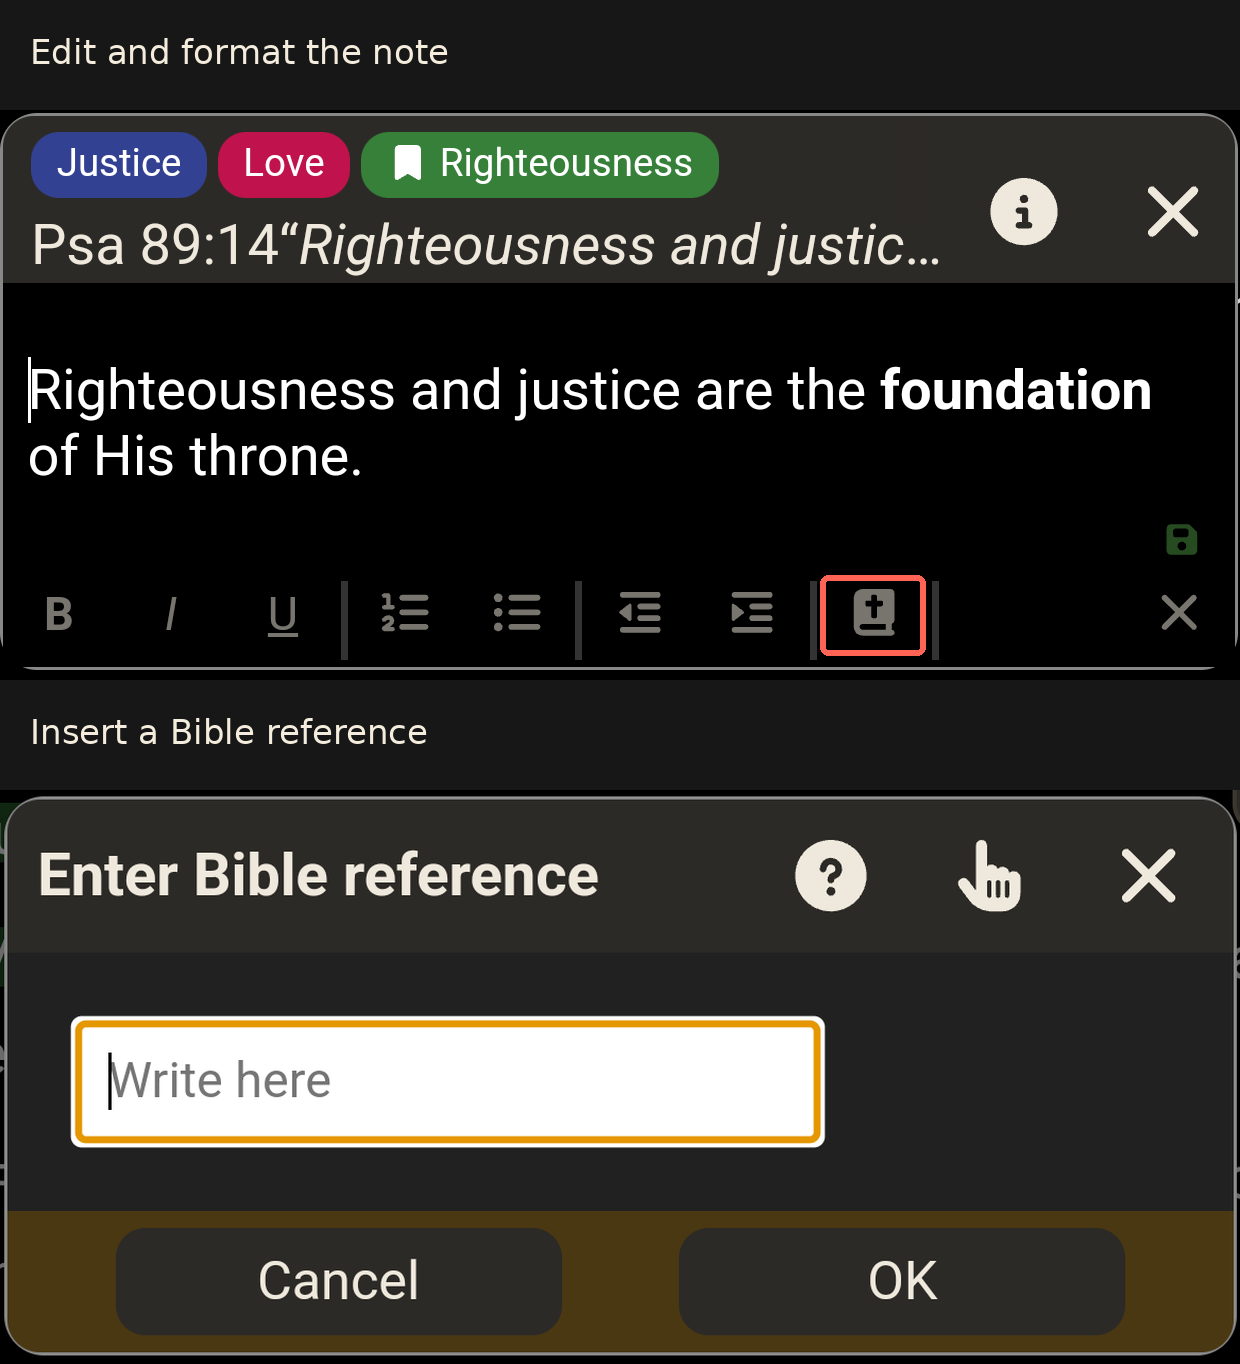
- Click the Bible icon and type a Bible reference.
- Alternatively, you can click the Bible icon and click the “pointing hand” icon to use the verse picker to choose the verse you want to link to.
The RefParser add-on enables reference recognition in additional languages, including on iOS. Install it from the document downloader to use the languages of your active Bible documents. Only correctly signed add-on parser files are loaded. If a language parser is missing or cannot be loaded, English reference recognition remains available; you can also use the verse picker.
Markdown Editor
The Markdown editor lets you write notes using Markdown syntax. It provides a formatting toolbar and a live text editing area.
The toolbar includes:
- Heading selector (H1–H3)
- Bold, Italic, Underline
- Ordered and unordered lists
- Indentation (increase / decrease)
- Undo / Redo
- Bible reference link insertion
The editor also supports these conveniences:
- Auto-list continuation: pressing Enter on a list item creates the next item automatically.
- Auto-save: changes are saved automatically after a short delay.
- Keyboard shortcuts: Ctrl+Z for undo, Ctrl+Y (or Ctrl+Shift+Z) for redo, Escape to close the editor.
Cancelling Prompts
When entering a Bible reference or confirming a note deletion, you can cancel with Cancel, the prompt's X button, a tap outside the prompt, or Escape on a keyboard. Each of these returns to your notes without inserting the reference or deleting the note.